JSON Formatting: Customize Lists for Enhanced User Experience

Learn how to use JSON formatting in SharePoint to customize list columns, views, rows, and forms. This guide provides step-by-step instructions and resources to help you enhance the visual presentation of your SharePoint lists.

Steps
1

Understanding JSON Formatting in SharePoint

Understanding JSON Formatting in SharePoint

JSON (JavaScript Object Notation) formatting in SharePoint allows you to customize how fields in lists and libraries are displayed. By constructing a JSON object, you can define the elements and styles applied to list fields without altering the actual data. This enhances the user interface and improves data readability.

link
Use column formatting to customize SharePoint
Steps
2

Formatting Columns with JSON

Formatting Columns with JSON

To format a column:

  1. Navigate to your SharePoint list.
  2. Click on the column header you wish to format.
  3. Select "Column settings" > "Format this column."
  4. In the formatting pane, choose "Advanced mode."
  5. Enter your JSON code to define the desired formatting.

This allows you to apply styles such as colors, icons, and conditional formatting based on field values.

link
Column formatting with JSON
Steps
3

Formatting Views and Rows with JSON

Formatting Views and Rows with JSON

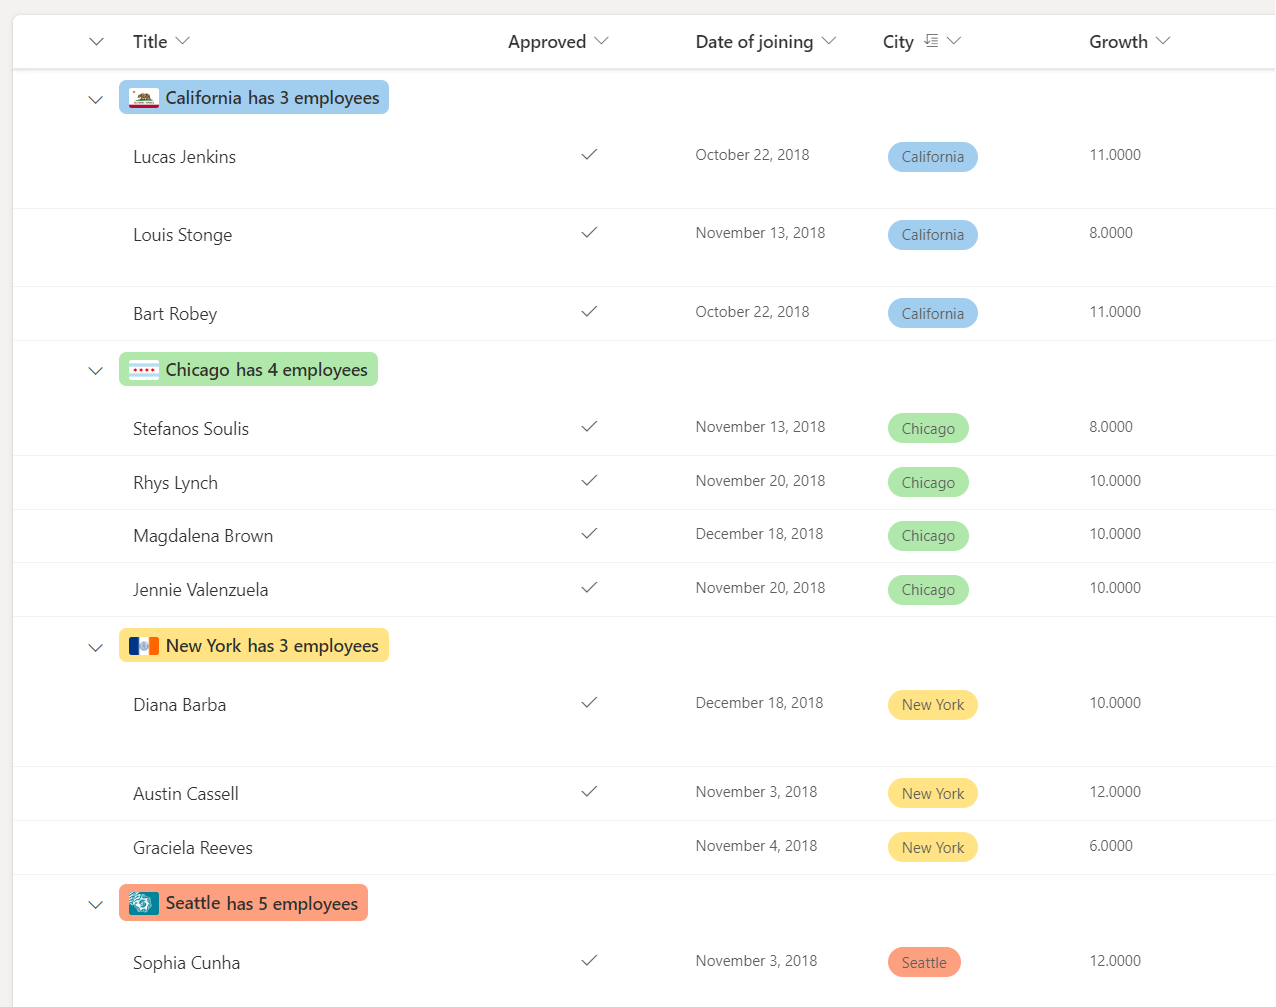
To format an entire view or specific rows:

  1. Open your SharePoint list.
  2. Click on the view name (e.g., "All Items") and select "Format current view."
  3. In the formatting pane, choose "Advanced mode."
  4. Enter your JSON code to customize the layout and style of the list view or rows.

This enables you to apply conditional formatting to rows, such as highlighting based on status or dates.

link
List layout customizations
Steps
4

Customizing List View Forms with JSON

Customizing List View Forms with JSON

To customize the header, body, or footer of a list form:

  1. Open an item in your SharePoint list.
  2. Click on "Edit form" > "Configure layout."
  3. In the formatting pane, select the section (Header, Body, or Footer) you wish to format.
  4. Enter your JSON code to define the layout and styling.

This allows for enhanced form layouts and improved user experience.

link
List layout customizations
Steps
5

Utilizing JSON Formatting Examples

Utilizing JSON Formatting Examples

To assist with creating your JSON formatting, Microsoft provides a repository of samples:

These samples can serve as templates or inspiration for your custom formatting needs.

link
PnP List Formating

Tools Used

See Our Packages

FAQ

Ready to talk?

We work with ambitious leaders who want to define the future, not hide from it. Together, we achieve extraordinary outcomes.

Thank you! Your submission has been received!
Oops! Something went wrong while submitting the form.
© 2020 HarjTech Solution, Inc.